Example:
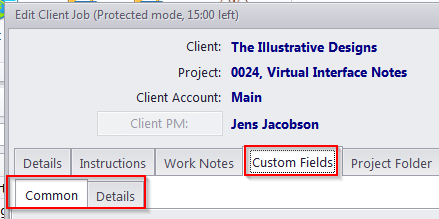
Each group of custom fields represents a separate tab in Projetex Workstation.
|
Example:
|
To create or modify a group of custom fields:
1. Run the Projetex Server Administrator and switch the database into Offline mode on the Database tab.
2. Switch to Corporate Settings tab and click Fields.
3. Select the area to which a new custom field group must be added.
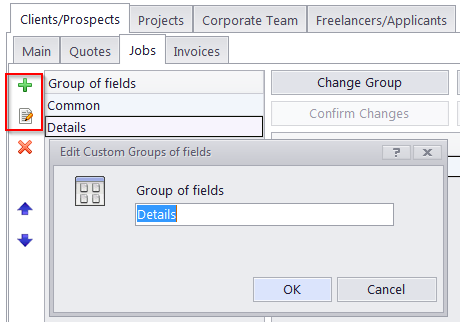
4. Click the New Group button in the group of fields control buttons or double-click any group to edit its name.
 Note: To delete a Group of fields, you need to delete all Custom Fields it contains, or move them to other groups first.
To change the order of Groups of fields, i.e. the order of tabs with the Custom Fields tabs, use the Move Up Group/Move Down Group buttons.

See also:
Database Customization: Custom fields